Digitizing Old Photos using Computer Vision
- 7 min read
- OpenCV
- Python
- Computer Vision
3 years ago
Side note: Almost all of the code in this post is taken from this StackOverflow answer . I only learnt the basics of computer vision after I got the code to run. So while I can't say the code in this post is done entirely by myself, I can say that I've learnt a bunch and I'm excited to delve deeper into this field, mainly do a revamp of my undergrad university's final year project: Classifying Book Genre using Machine Learning Techniques. Something for the future :)
My dad had the cognizance to capture a lot of photos from the good old days (as I'd like to call it). In our house, there exists a shelf filled with 30-40 old photo albums ranging from the 1980s all the way to 2010. They were sitting there collecting dust, so I wanted to forever immortalize them all at once, so I decided to use the power of computer vision.
Before this idea came to me, I wanted to use Google PhotoScan , but it had a bunch of problems:
- Scanning just one photo required you to move your phone to 4 different corners of the photo.
- There needed to be sufficient lighting.
- With the phone's flash on, the supposed "glare-free" effect was nowhere to be seen.
- On average, a single photo required 10 seconds to be scanned.
- The quality of the scanned photos were not good.
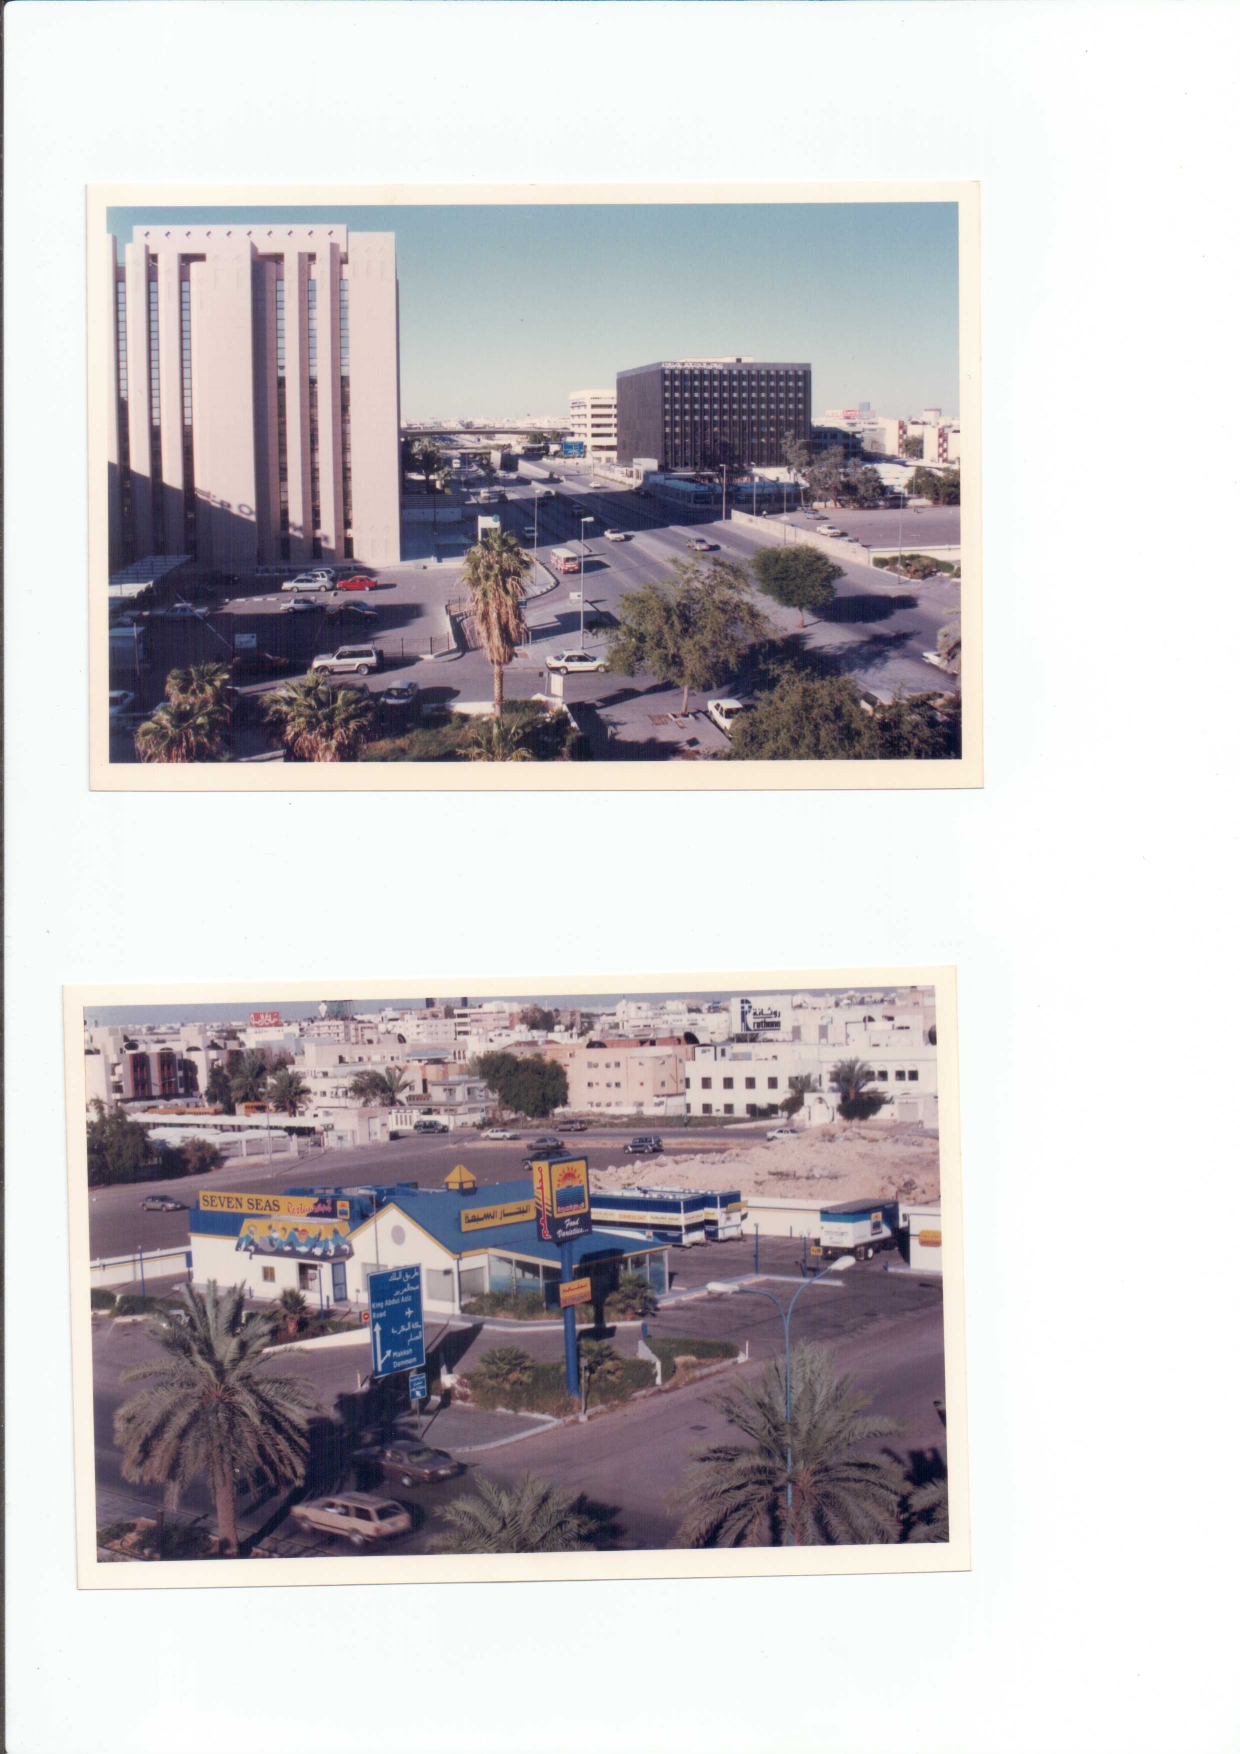
So after a bit of thinking, I decided to use OpenCV . I have a printer-scanner lying around in my house, and with that, I could scan 2-4 photos at once. For instance, here's an example scan which I took:
The Script
Here's a step by step on everything I did to batch-digitize the photos:
Grayscaling
First step is to gray-scale the images. Why? With respect to code execution alone, two reasons that can be summarized from this Quora answer are:
- Colour doesn't help us identify important edges or other features.
- It is faster since we don't have to deal with the third channel used for colour.
Also, we will be applying thresholding later on, which requires that the image be grayscale.
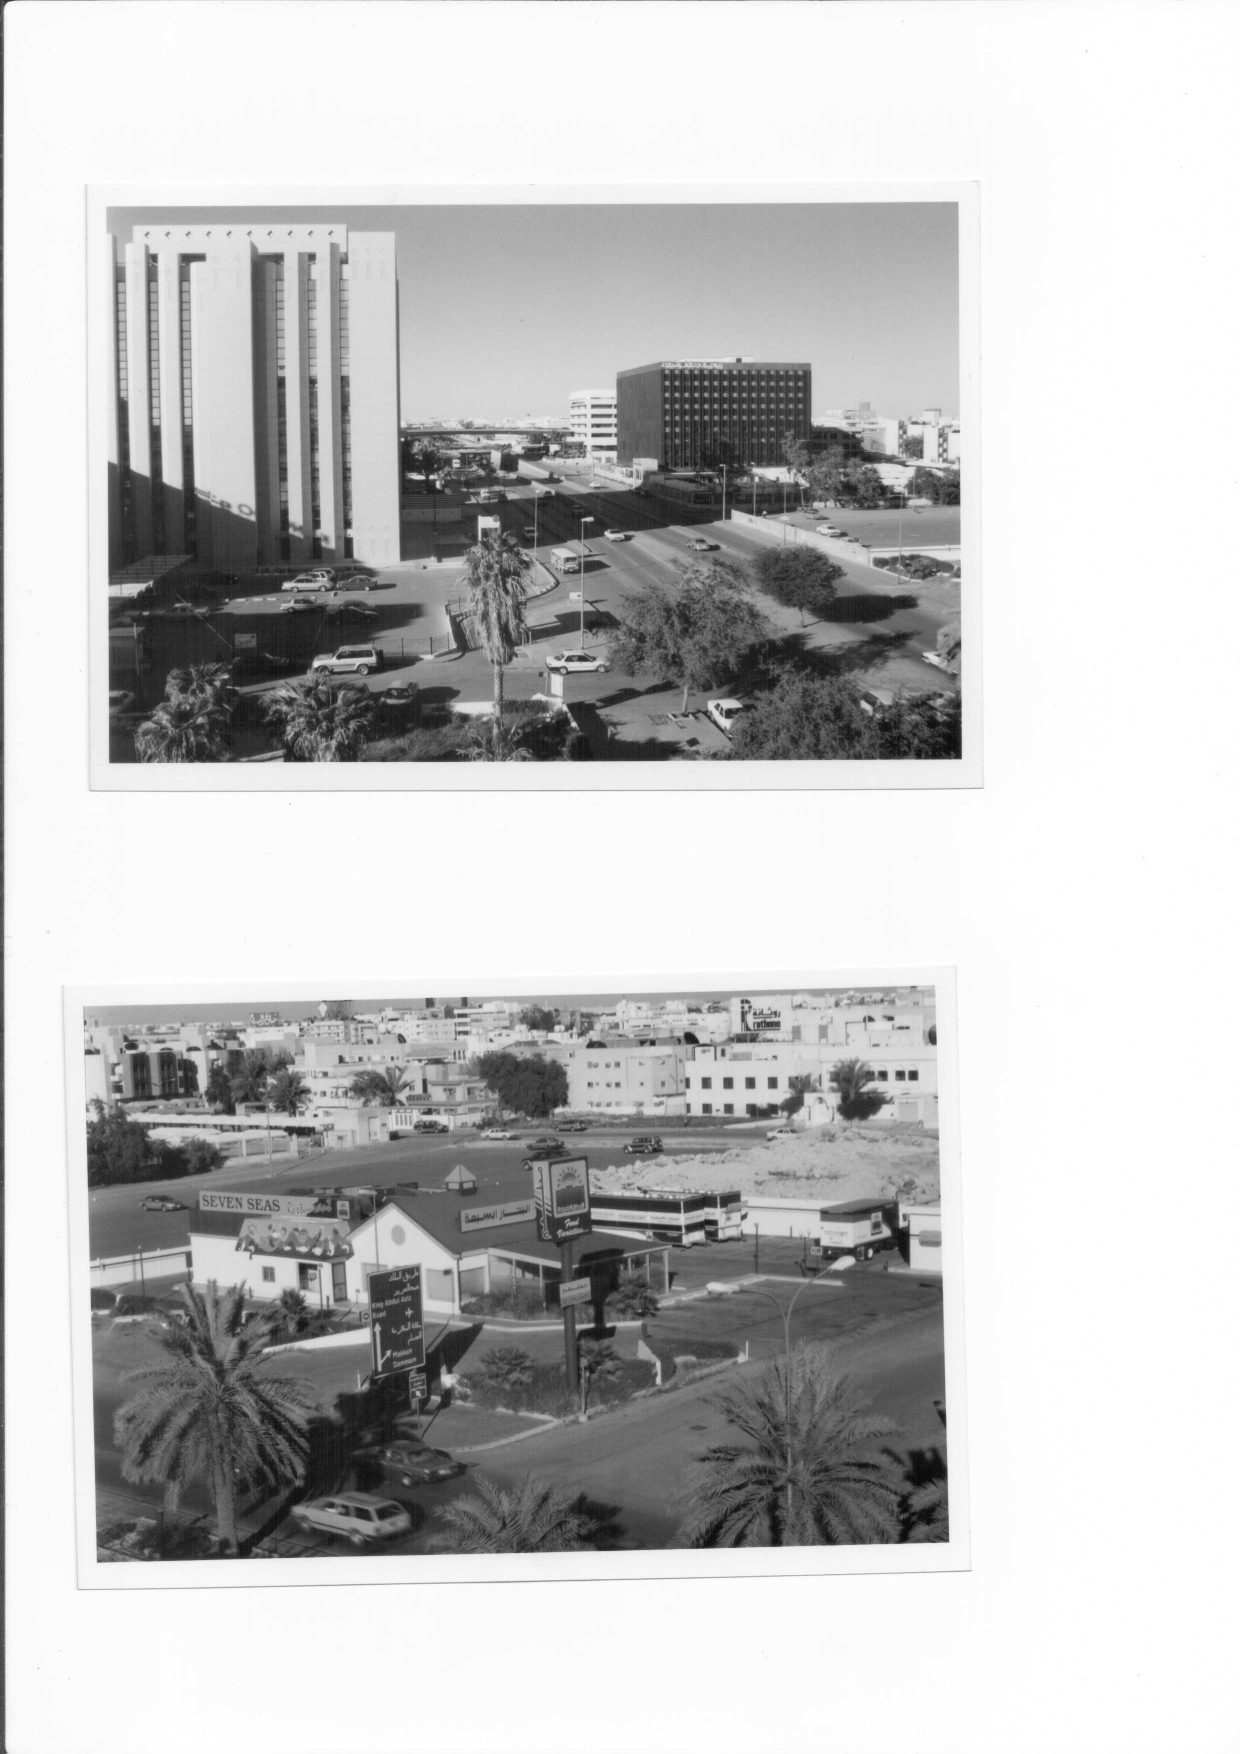
After grayscaling, we have the following:
Gaussian Blurring
Named after mathematician Carl Friedrich Gauss (rhymes with “grouse”), Gaussian (“gow-see-an”) blur is the application of a mathematical function to an image in order to blur it. “It’s like laying a translucent material like vellum on top of the image,” says photographer Kenton Waltz. “It softens everything out.” A type of low-pass filter, Gaussian blur smoothes uneven pixel values in an image by cutting out the extreme outliers. Source.
I'm using the Gaussian Blur here to reduce high frequency image noise and to enhance image structure which increases the rate at which image features will be detected. Blurring moves you up in the scale space .
The first parameter is the source image, the second parameter is the kernel size (the higher the kernel size, the more blurry the image will be), and the third parameter is the standard deviation of the Gaussian function. When this is 0, it is calculated based on the kernel size.

Threshold
Thresholding is simply a way to convert a grayscale image into a binary image. The thresholding process is usually done using a threshold value . The threshold value is the value at which the image is split into two different regions. If a certain pixel exceeds the threshold value, it is assigned to the foreground, otherwise it is assigned to the background.
The first parameter is the source image, the second parameter is the threshold value, the third parameter is the maximum value, and the fourth parameter is the type of thresholding.

Finding Contours
Contours can be explained simply as a curve joining all the continuous points (along the boundary), having same color or intensity. The contours are a useful tool for shape analysis and object detection and recognition. In OpenCV, finding contours is like finding a white object from a black background. So remember, object to be found should be white and background should be black. Source .
With this, we have the bounds of our image.
Finding ROIs (Regions of Interest)
To crop only the photo part of the scan, we need to find out the ROIs. We can do this with the help of the boundingRect() function. The cv2.boundingRect() function of OpenCV is used to draw an approximate rectangle around the binary image. This function is used mainly to highlight the region of interest after obtaining contours from an image.
We can loop through our contours to find the bounding rectangle of each contour. For a set of contours, there will be multiple ROIs, and to get only the image from the scan, we can filter out the resulting contours that have a very low file size. This was kind of a hacky fix since I'm not a computer vision aficionado by any means, but what I did was I saved each image, and if the image was below a certain filesize, I would delete it. This meant that whatever image I saved, was an ROI pertaining to the actual image itself.
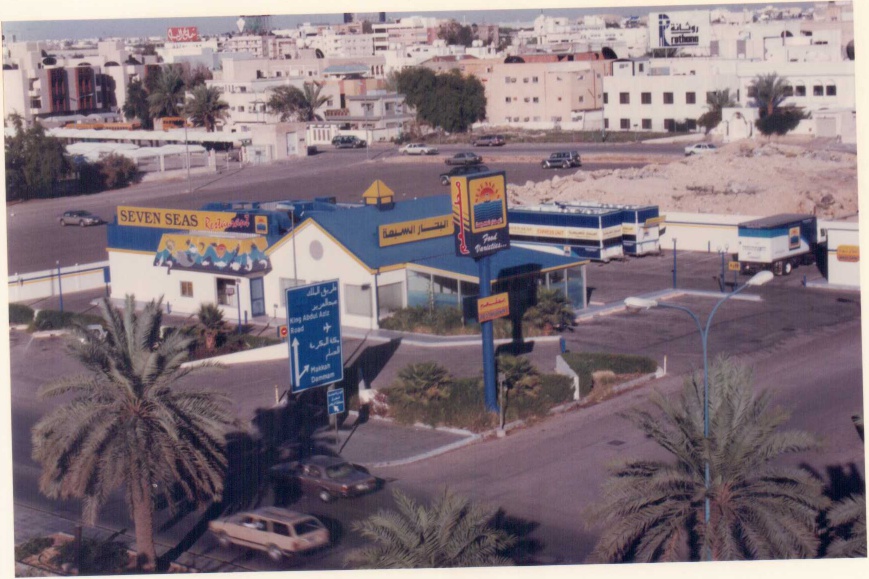
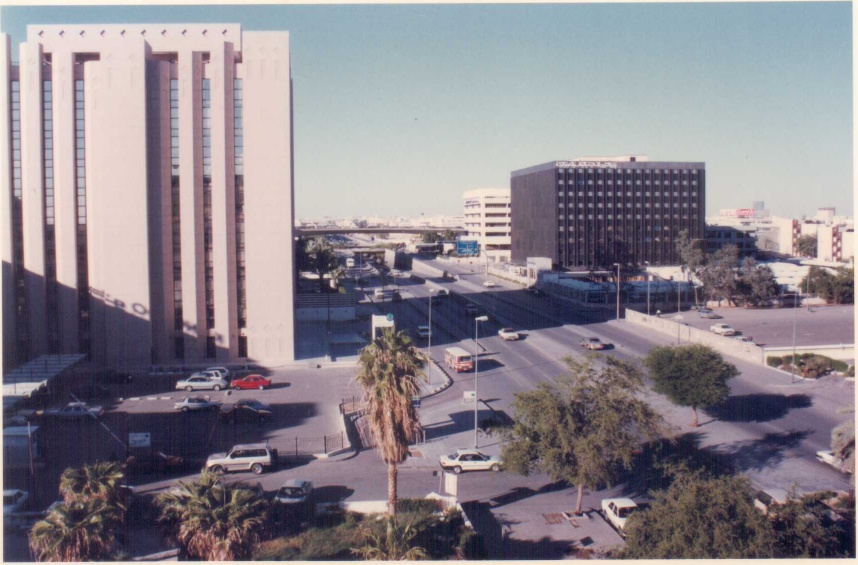
I got the resulting images:
Code
Here's my code suited to the following usecase- each batch digitized album exists as a bunch of images in a subdirectory called original, under a directory called album_<number>, with a sibling directory called cropped. The images under the directories not listed under albums_to_exclude are scanned through, and the resulting cropped images are stored to the cropped directory.
We're Done!
And voilà! From here, we have a collection of images that are all the ROIs of the scan. We can single-handedly go through hundreds of images at a single go. Of course, the effort of manually scanning the photos is there, but that is a non-negotiable step, and a much better alternative to Google PhotoScan, considering that we can scan multiple images at the same time.
One thing this program does not have is auto alignment of images. During the scan, if the image is not aligned, it will not be rotated to align with the scan. This is something that is pretty easy to do with OpenCV, but I did not find this to be a huge issue, since aligning the photos by hand is not terribly difficult.
Aaaand, that's all I have to say about this. My first blog post in 2 years. More are coming soon. I hope you enjoyed it.
From the stars,
FR.